Halloween Graveyard Cupcakes

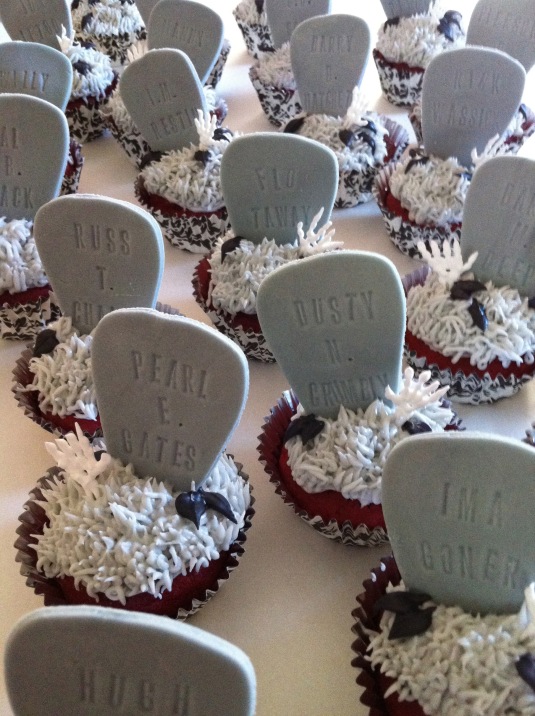
These Halloween Graveyard Cupcakes were a hit with my third grader, who especially enjoyed helping me name each poor soul we laid to rest. The tutorial below is for the tombstones (gum paste) and the skeleton/zombie hands (royal icing). Before you begin, I should mention that it’s best to make the decorations several days ahead of when you need your cupcakes. Gum paste and royal icing both need time to dry!

To make the tombstones you’ll need:

  1. gum paste, tinted grey
  2. powdered sugar for dusting
  3. tombstone-shaped cookie cutter (I used my candy corn cookie cutter)
  4. tiny letter stamps (I used these, which I found at my local Joann Fabrics)

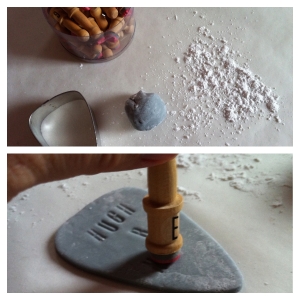
On a clean surface lightly dusted with powdered sugar, roll out the gum paste to about 1/4″ thickness and cut the tombstone with your cutter. Then, just press each letter stamp into the dough. Be sure to make one tombstone at a time, because gum paste begins to dry quickly, which could hinder your stamping success! Let them dry for a few days on parchment paper, turning after two days (or so) to allow both sides to dry fully.

To make the skeleton/zombie hands you’ll need:

  1. white royal icing
  2. a decorating bag, coupler and small round tip (I used Wilton tip #2)
  3. parchment paper

First, grease your parchment paper just a bit by spreading an ultra-thin layer of vegetable shortening with a paper towel. This should help the hands not to stick and will reduce the possibility of breaking the tiny fingers when you’re ready to use them.

Pipe a wrist bone by piping a dot and gently moving downward to form a line, followed by another dot. Pipe another wrist bone next to it, making sure they touch each other at the points. Then pipe a half-circle-ish shape on top of those, again making sure they touch. To pipe each finger, I started where the knuckle would be, piped two dots without fully letting go of the pressure (to keep them connected), and then piped a fingernail by piping a third dot on top and pulling upward slightly as I released the pressure. It’s a good idea to make more than you think you’ll need, because they will be fragile and some may break. Don’t forget to make some with thumbs on the other side too. Then, let them dry for at least two days.

I used the Wilton grass tip (#233) to pipe the grey grass and a leaf tip with black royal icing to make leaves on the final cupcakes. I love how they turned out! In fact, I’m going to make them again next week for my son’s class party. He’s already coming up with more names. Happy Halloween!
Brown Sugar Apple Pie

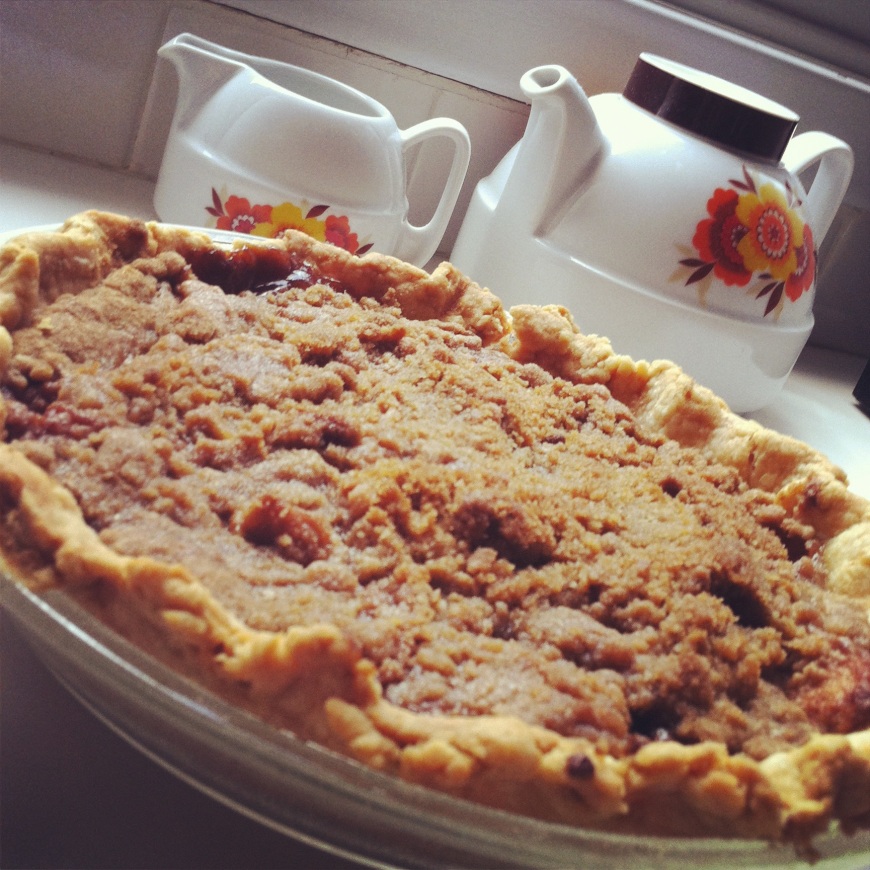
Need I say more?  Just add the recipe, right?  That’s what I thought.  But I will tell you first that my mom always made the BEST apple pie.  She still does, and she wisely credits my Granny with the recipe.  Here it is.

Brown Sugar Apple Pie

Filling (for two pies):

3/4 C packed brown sugar

1/4 C sugar

1 1/2 t cinnamon

1/3 c flour

dash salt

8 C apples, thinly sliced

Combine and fill prepared crust.  I use this “no fail pie crust” recipe sometimes, but I must be the exception to the rule, because I always fail at perfectly rolled pastry.  Mine is too sticky or too crumbly.  Just look past the bubbly, brown sugary goodness in the photo and you can see my lumpy, pieced-together crust.  I mean, I really get bothered by the promise that “it rolls out like a dream.”  More like a nightmare, but I digress.  Let’s get back to the filling and topping recipes, which work just as well with a Pillsbury Ready Made Pie Crust.  Yeah that’s right.  I said it.

Before you bake, cover your pies with this topping (which, according to Granny’s recipe, is also for two pies, but I double the recipe below to get maximum crumbly, brown sugary coverage).

Topping:

1 1/4 C flour

3/4 C packed brown sugar

1 t cinnamon

1/2 stick butter, softened

Mix until crumbly and pour evenly on top of apple filling.  Bake your pies at 350 until apples are tender until poked with a fork, about 40 minutes.


Chocolate Leaves

Did I mention I have three boys?  And a husband.  And a male cat.  And two hermit crabs and four frogs who have all been dubbed male by those who care.  Yes, around here it’s all boy, all the time.  No tea with petit fours, no pretty dresses.  You can cut the testosterone with a knife.  And while we’re cutting (watch this segue) just imagine the “manly” cakes I’ve made . . . Thomas, John Deere, Mario and Darth Vader, to name a few.

So it was my delight to make a birthday cake for my friend Kristin recently.  As tempting as it was to go with a full floral theme (and make use of my dusty Wilton instruction booklets), I decided to focus on fall.  It was a small celebration, so I used my Pyrex measuring cup to bake a small spice cake and topped it with white chocolate buttercream frosting:

1/2 C butter, softened

1 C white chocolate chips, melted over a double boiler

1 tsp vanilla

3 C powdered sugar

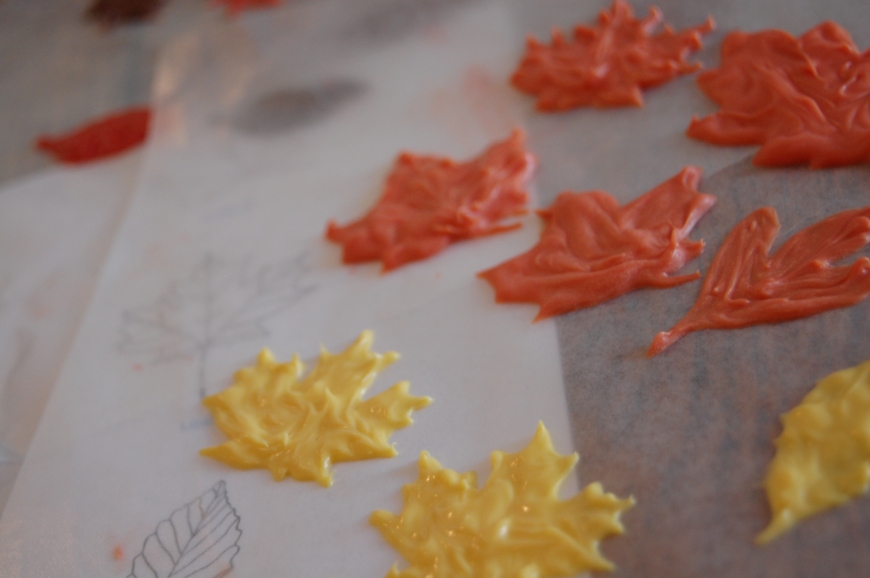
Then came the fun part!  I printed out a sheet of leaf line drawings.  Then I used melting chocolates in different color combinations and piped them onto wax paper over the leaf templates:

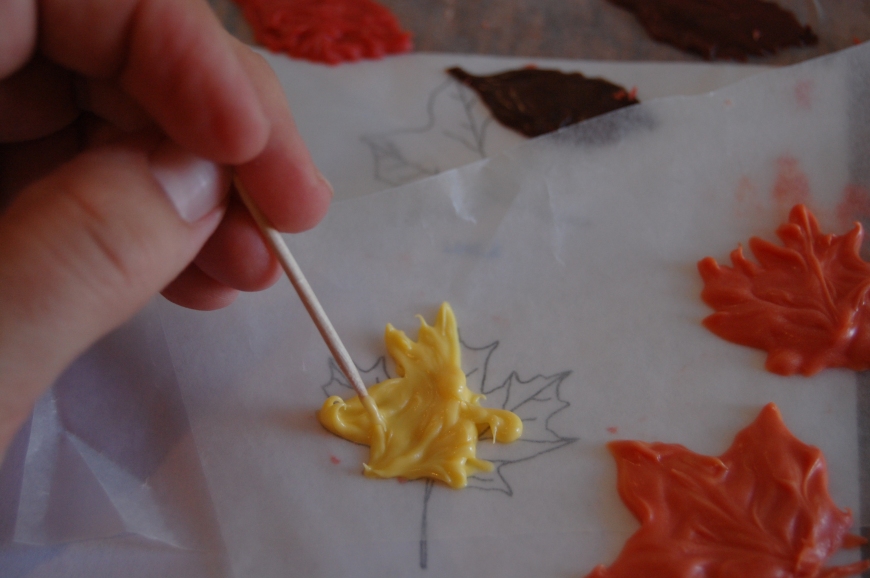
Using a toothpick, I spread and swirled the chocolate to the edges of the templates to create textured leaves:

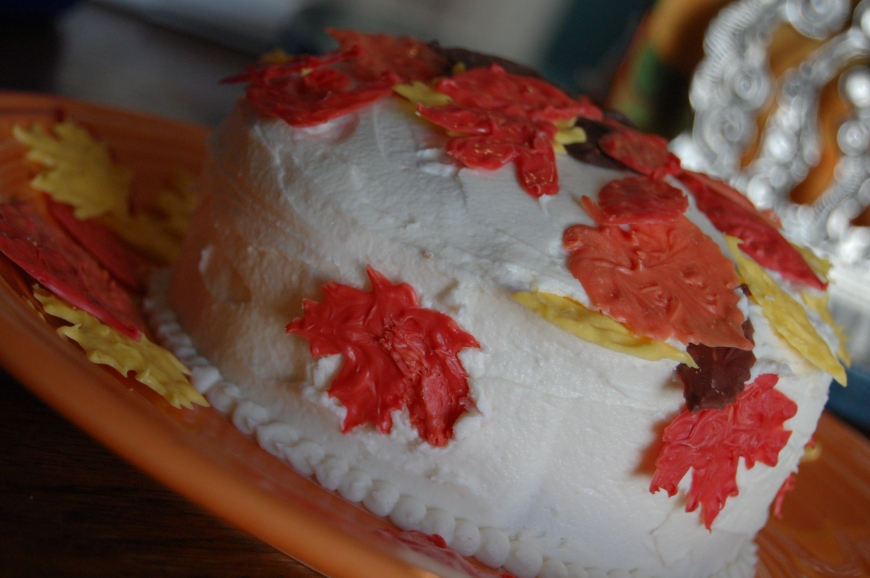
After letting the chocolates harden in the refrigerator, I covered the cake with the delicious (and might I say girlie?) foliage:


Kristin loved it (and so did the boys)!

wool soaps

I recently came across several tutorials for felting wool onto soap and had to try it!  Along with being beautiful and useful (use them like a loofah), they are simple and quick to make!  I am a fan of instant craft-i-fication . . . No, I haven’t finished Henry’s quilt yet (thanks for asking) . . .  but I made these in under an hour:

Here’s What You Need:

wool roving (raw wool which has been cleaned, carded and sometimes dyed)

soap in any shape you like (I didn’t have egg soaps, so I shaved a bar of soap into little bits, added some water and molded it like clay into eggs)

hot water

Here’s What  You Do:

Cover the soap with wool roving.  Use about twice as much as you think you’ll need, because the felting process causes the wool to shrink.  Then, dribble hot water onto the wool and soap with your hands.  Don’t dunk it in the water or the wool will slip off.  Dribble and press, dribble and press.  It will begin to stick together.  Here is a photo tutorial for you visual learners.  Don’t worry that you’re working up a lather in the process — the soap actually helps the wool to felt.  Once it’s beginning to stick together, start rubbing.  Some people use felting mats, but I don’t have any so I just used my hands.  Be sure to rub all sides.  If the lather is taking over, dribble more water to rinse it and then keep rubbing!  The wool is felted when you pull on it with your fingers and it doesn’t pull away.  Let them dry, take some photos, post them to your blog, give them as gifts, or stick them in an Easter basket (you don’t have to tell anyone how easy they were)!

longing for green

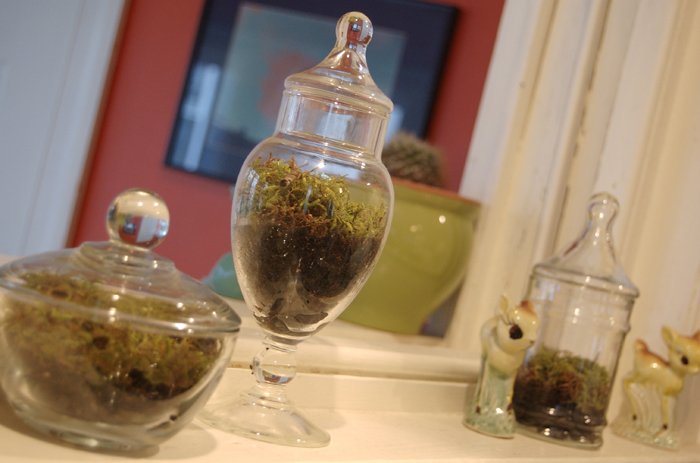
This might be one of the first years I’ve ever been impatient for Spring.  I know, I’m a weirdo, but I truly love winter and have relished the cooler weather since moving back North.  This winter, however . . . between “snowmageddon,” a power outage with no heat, and my house-bound children, I am finally tired of the ice and cold, and I need warmth.  And I need green.  The backyard is teasing me with daffodil shoots, reminding me of all the color we’ll have soon.  So, in my impatience, I tried to devise a way to add some green inside.  I’ve had these glass jars ($1 each from the thrift store) sitting around for a while and have spent the winter trying to find a local source for live moss (to no avail).  I’m sure I’ll have more luck in warmer weather, but for now, I bought dried moss (which the woman at the nursery told me might even sprout if kept moist — but I must have used a bit too much moisture because all that grew was mold).  So, here is round two:

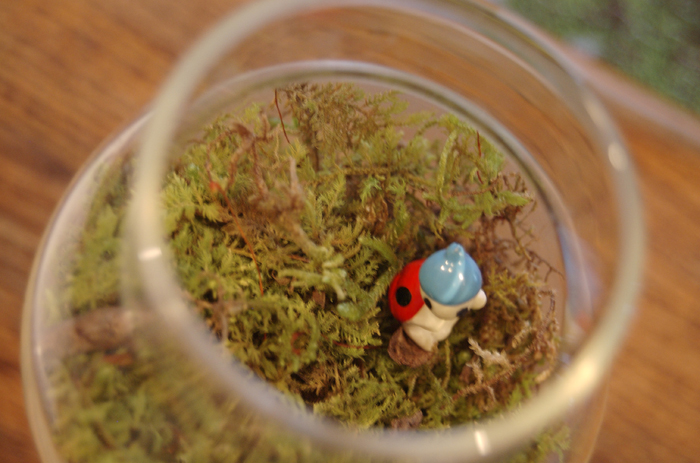
I just put a layer of rocks at the bottom, a layer of soil mixed with charcoal (which is very helpful in preventing the mold), and some dried moss.  Ok, ok, I cheated, but it LOOKS like I’m growing live moss, right?  And I’m lovin’ the green!

Needle Felting

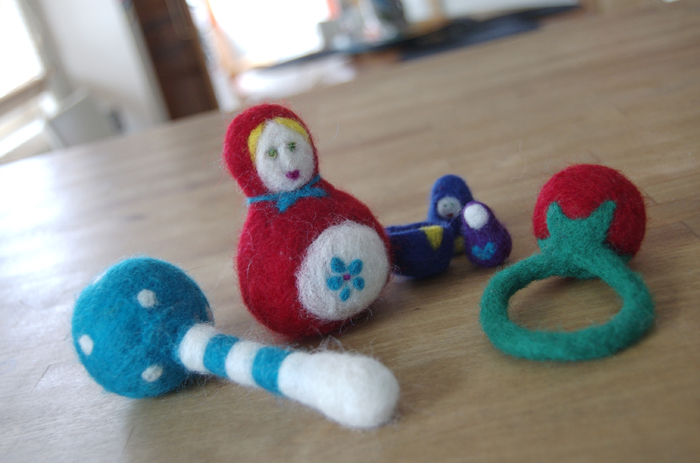
Ahhh, the blog neglect has begun.  I knew it would happen . . . but just look at my good excuse!  My free time has been claimed by a new discovery (of a very old craft): needle felting!  If you’re not familiar with the method (I wasn’t), it is done by stabbing wool roving (raw wool that has been cleaned, carded and sometimes dyed) with a special barbed needle until you reach the desired shape.  I love it for its simplicity, for the colors and for its ability to satisfy the fickle and impatient crafter in me!

I started with rattles, inspired by little Henry’s newfound shaking skills which could leave him bruised by other toys.  Then I moved on to the matryoshka dolls, which I haven’t finished but still couldn’t wait to post here:

Once I felt more confident in creating little wool sculptures, I made this, um, woolidermy . . .

I’d love to hear your thoughts!

yes, yes, more hearts

Sick of hearts yet?   I know, I need some new ideas for March . . . but for now, I love all the red!

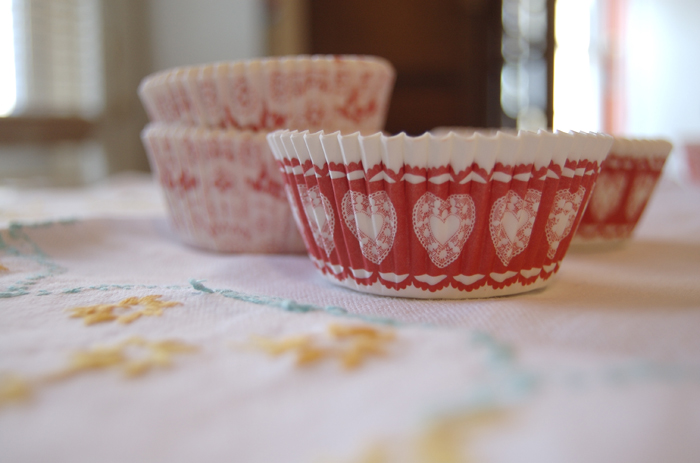
Especially in the form of sweet cupcake liners like these (I mean, what homie doesn’t love a great cupcake liner?):

And thanks to Amy at Crafts Redesigned, who was featured on the Valentine tutorials at Sew Mama Sew, I was inspired to make this heart wreath to hang over my sink (it’s made from a coat hanger, old fabric scraps and some recycled ribbon from a gift!  Gotta love a $0 project!):

Happy Heart Day!

Heart Felt

I’ve been hoping to come across some old valentines for a while (not that I knew what I was going to do with them).  Perhaps I was searching for the nostalgia or maybe it was a reaction to my boys’ choices of Transformers and Star Wars valentines, which speak to their little hearts in ways to which I cannot relate.  There are plenty of vintage cards online, but most are overpriced (plus shipping), especially for the purpose of crafting rather than collecting.  So I was delighted to find some vintage-inspired cards at a little toy shop.  Cute, cheap and close enough!

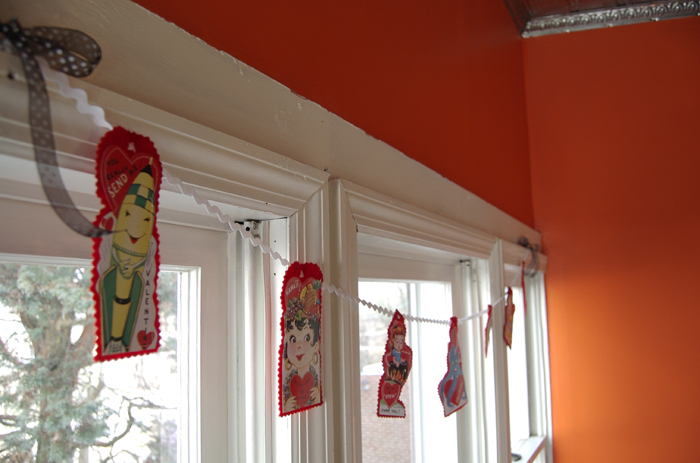
Maybe it’s the retro vibe, but some felt and rickrack finally inspired me to make the cards into a banner for our play room windows.

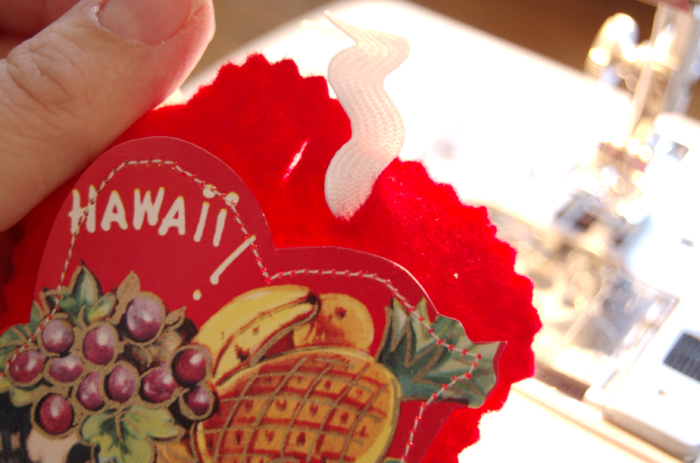
First I sewed around the edge of each card to attach them to the felt (I suggest wool felt for longevity but I used acrylic because I had some on hand):

Pinking shears gave the felt a nice finished edge, and I left some room at the top to cut slits and string each card onto the rickrack:

It looked a little bare until I added the bows, but now I have a Valentine’s Day banner sweet enough for any room in the house:

i heart soup

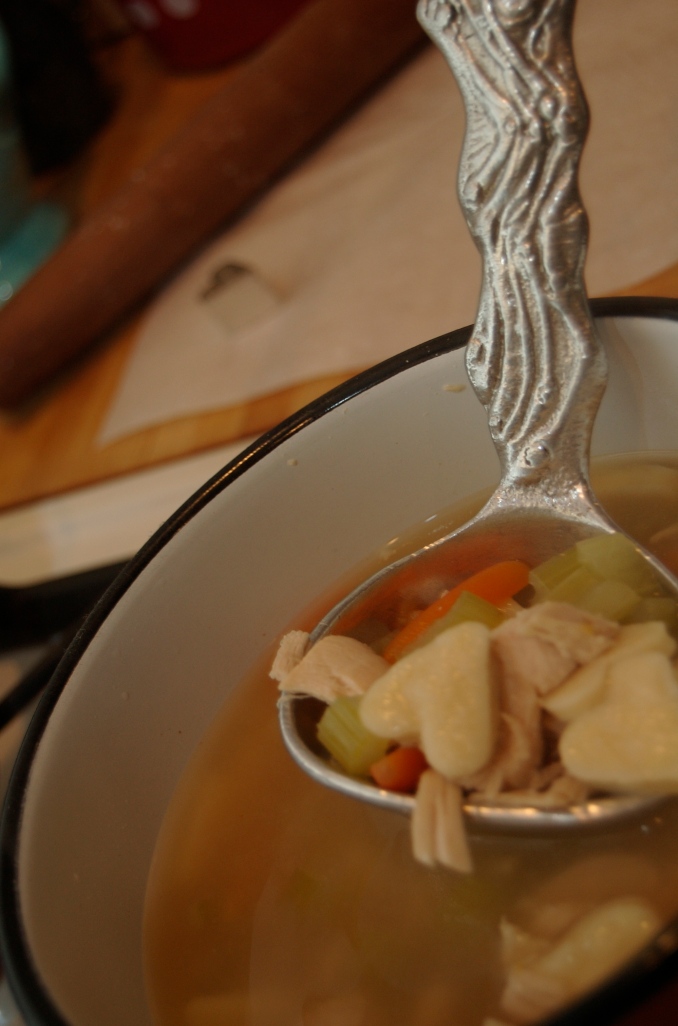
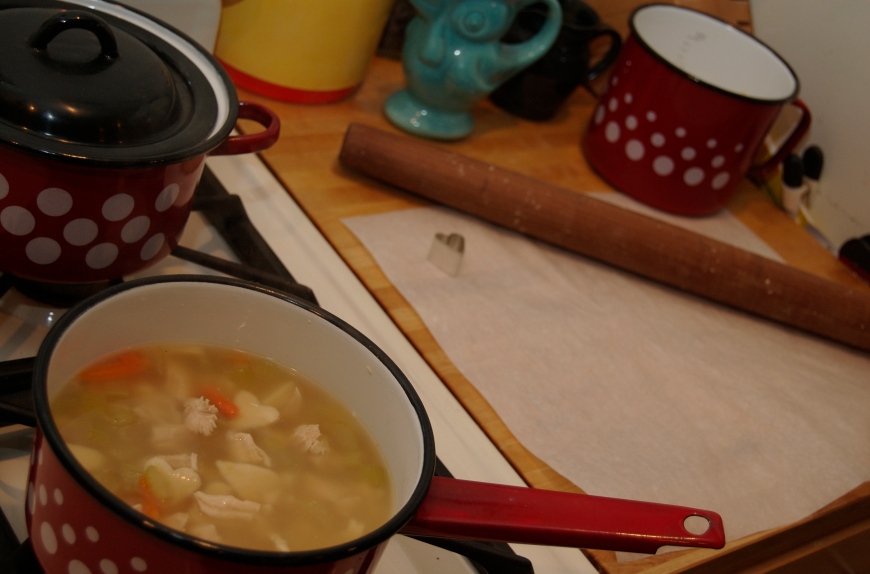
As you get to know me, you’ll see that I’m a holiday junkie, sold out to the lovely flow of seasons and opportunities for change. And so, of course, this is reflected in my noodles (what?). Ok, people who know me in real life probably think I’m a little nuts to be making homemade noodles at all when I could just nuke some easy mac and call it dinner (and sometimes I do), but the truth is, many homies find this sort of activity relaxing and enjoyable. And so, as Valentine’s Day approaches, we have hearts:

Here’s the noodle recipe I always use:

1 cup flour

1 egg

1/2 eggshell of milk

secret ingredient: love. Sorry, couldn’t resist.

Combine ingredients and form into a ball. Roll out the dough to 1/4 inch and cut with teeny, tiny cookie cutters like these. Easy, right? See, I’m not crazy. And hey, my kids are more willing to eat a healthy meal when there’s an element of fun.

Let me know if you try it!

you might be a homie if . . .

. . . your mood is affected by the color of a room.

. . . you skip a purchase because you’re SURE you can make it yourself.

. . . the seasons excite you simply because it’s a legitimate excuse to redecorate.

There are a lot of us.  Sheesh, just try to come up with a name for a home blog that isn’t already taken.  I’m actually grateful for the repeated opportunities to try again. Landing on home ec(lectic) was a little lesson in self-discovery.  I’ve tried it on for an hour or two and it fits nicely.

Welcome, homies.  Thanks for stopping by.